How To Install The Theme & Import Demo Content
How to Edit Header/Logo and Footer areas
Blog post, Categories, and Tags

How to reuse blocks
How to set up contact form
How to add your subscription box (Important)

How to make changes to the images and content
How to change colors and fonts
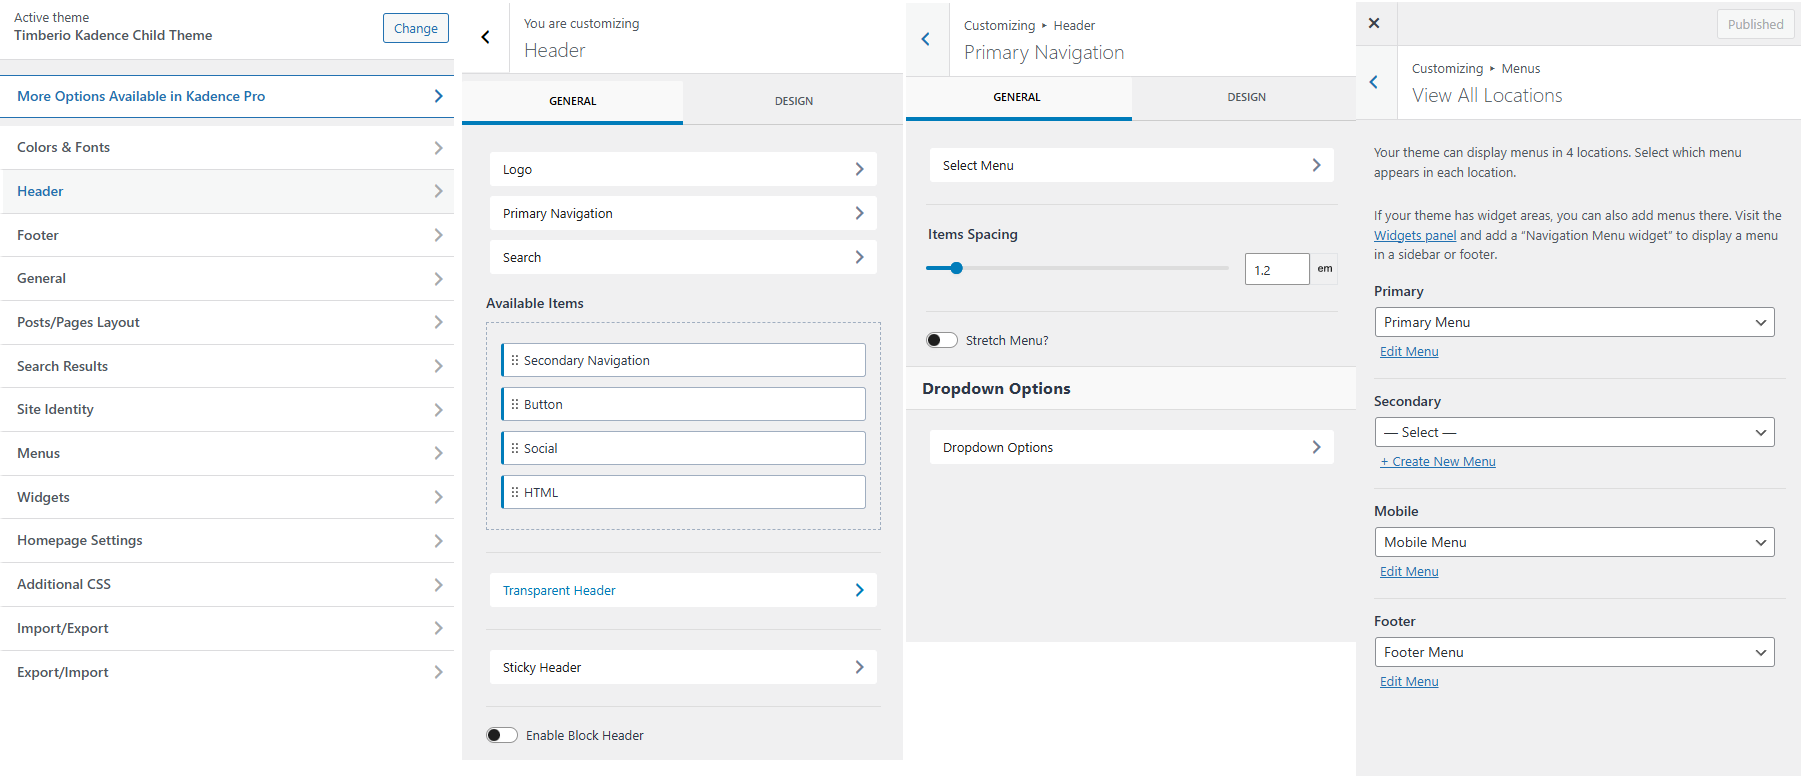
How to change the menu
How to use Kadence Google Map block
How to set up team members using Team Members plugins
Understanding sliders in Timberio Kadence theme
How to import existing sliders to the website
How to use Instagram in the theme (optional)


Site menu is not displayed properly in the header
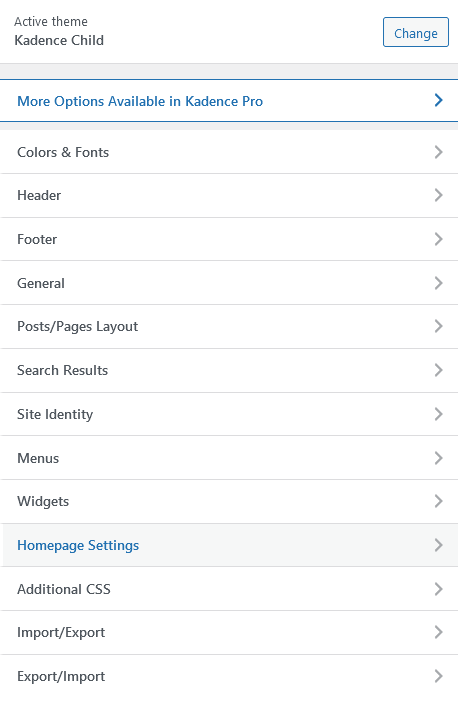
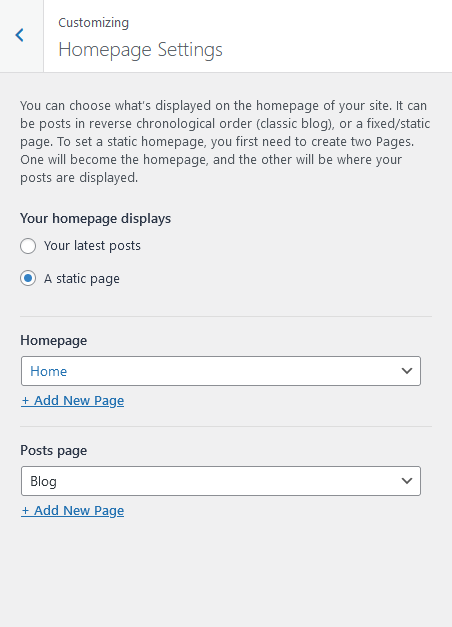
Blog Posts are displayed as homepage instead of homepage